Choosing a pump seems simple, but getting it wrong leads to leaks and customer complaints. The right choice protects your product and your brand, avoiding very expensive problems.
The best way to choose a lotion pump[^1] is to match its specifications to your product and bottle. You must consider the product's viscosity[^2], the pump's output dosage[^3], the bottle's neck size, and the dip tube length[^4]. Always test samples with your final formula before ordering.

Getting packaging right can feel overwhelming. I remember one of our first big orders where the pump just didn't work with the customer's thick cream. It was a disaster that we could have avoided. That's why I want to break down everything you need to know. Before we dive into the step-by-step selection process, let's start with the basics. Understanding what a pump is and how it works is the first step to making a smart choice and ensuring your customers have a great experience with your product from the first pump to the last.
What Is a Lotion Pump and Why Does It Matter More Than You Think?
You probably think a lotion pump[^1] is just a simple top for a bottle. But this thinking can lead to big problems for your brand. Let's look at why it's so important.
A lotion pump[^1] is a mechanical device[^5] that dispenses a specific amount of liquid or cream from a bottle. It's more than just a cap; it’s the primary way a customer interacts with your product. A bad pump can ruin a great formula and your brand's reputation.

A pump is often the first physical interaction a customer has with your product. If it feels cheap, gets stuck, or breaks, that first impression is negative. A good pump, on the other hand, delivers the product smoothly and reliably, making the customer feel like they bought a high-quality item. It's a small detail that has a huge impact on perceived value.
The Gatekeeper to Your Product
Think of the pump as the gatekeeper. Its main jobs are:
- Protecting the Formula: A good pump creates a seal that protects your product from exposure to air and contaminants. This is very important for formulas with sensitive or active ingredients, as it helps maintain their stability and effectiveness over time.
- Controlling the Dose: Pumps are designed to deliver a consistent amount of product with each press. This prevents waste and ensures the user gets the right amount every time, which is key for products where dosage matters.
- Improving User Experience: No one likes a mess. A well-designed pump prevents leaks and drips, providing a clean and easy way to use the product.
From my experience in the factory, I've seen great products fail simply because the brand chose a cheap, unreliable pump. It’s a crucial component that deserves as much attention as the formula inside the bottle.
How Does a Lotion Pump Actually Work?
You press the top, and lotion comes out. It seems like magic. But the simple mechanics inside can easily fail if not chosen correctly. Understanding how it works helps you choose better.
When you push down the actuator, a piston moves and compresses a spring. As the piston moves up on release, it creates a vacuum in the chamber. This suction pulls the product from the bottle up through the dip tube and into the chamber, ready for the next use.

Let's break that down into the two main actions. The entire process relies on pressure changes and a couple of small, one-way valves. One of these is a small ball, usually made of glass or plastic, that sits in the chamber. When you press down, the pressure forces this ball up against its seat, sealing the path back to the bottle. This ensures the lotion in the chamber can only go out through the actuator. When you release, the suction pulls the ball away from the seat, allowing new product to flow up the dip tube and refill the chamber. The viscosity[^2] of your product is very important here. A very thick cream needs a stronger vacuum to be pulled up, which means the spring and chamber design are critical. This is why testing your specific formula is not optional; it's necessary.
| Action | What Happens Inside the Pump |
|---|---|
| Press Down | The actuator pushes the piston, compressing the spring. Air and product in the chamber are forced out through the nozzle. The ball valve seals the entrance from the dip tube. |
| Release | The spring pushes the piston back up. This creates a vacuum in the chamber. The vacuum pulls the ball valve up, allowing product to be sucked up the dip tube to refill the chamber. |
What Are the Key Parts of a Lotion Pump?
A lotion pump[^1] looks like one single piece. But it is actually made of many small parts, and any one of them can cause a failure. Knowing the parts helps you ask the right questions.
A standard lotion pump[^1] is an assembly of several key components. These include the actuator, closure, gasket, housing, piston, spring, ball valve, and the dip tube. Each part has a specific job to do for the pump to work correctly.

Understanding these components is important when you are ordering pumps for your product. For example, the material of the spring is a detail many people overlook. Most pumps use a stainless steel spring. However, if your product formula is corrosive or has a very high or low pH, the metal spring can rust over time. This can contaminate your product and cause the pump to fail. In these cases, you would need a pump with an "outside spring" design where the spring doesn't touch the product, or a spring made from a different material. Small details like this are why you need to know what you're buying. It's not just about the look; it's about compatibility and performance.
| Part | Function |
|---|---|
| Actuator | The head of the pump that you press down. Its shape affects the user's feel and directs the product flow. |
| Closure | The cap that screws onto the bottle's neck. It holds the pump assembly onto the bottle. |
| Gasket | A small seal, usually made of plastic or rubber, that sits inside the closure to prevent leaks from the neck area. |
| Housing | The main body of the pump that holds all the components together. |
| Piston | A small part connected to the actuator that moves up and down inside the housing to create suction. |
| Spring | Provides the force to return the actuator to its original position after being pressed. |
| Ball | A small one-way valve (often a glass or plastic ball) that allows the product to be drawn into the pump but not flow back into the bottle. |
| Dip Tube | The plastic tube that extends down into the bottle to draw the product up to the pump chamber. |
5 Common Mistakes Brands Make When Choosing Lotion Pumps?
Everyone wants to save money on packaging. But trying to cut costs on pumps often ends up costing you much more in returns and a damaged reputation. You can avoid this by learning from others' mistakes.
The most common mistakes[^6] are choosing the pump too late, not testing it with the final formula, ignoring the dip tube length[^4], using the wrong spring material[^7], and focusing only on the low unit price instead of the total cost.

I have seen these mistakes play out time and time again from my factory perspective. A brand will spend a year perfecting a formula, then rush the packaging decision in the final weeks. This is a recipe for disaster.
Mistake 1: Choosing the Pump Last
This is the biggest mistake. When you choose the pump last, your bottle choice has already been made. This limits your options for pump style, neck size, and output. It forces you to find a pump that fits, not one that is right. Start thinking about the pump at the same time as the bottle.
Mistake 2: Not Testing with Your Final Formula
A pump that works perfectly with water might fail completely with a thick cream. Viscosity is everything. You must test the pump with your final, production-grade formula to check for compatibility, clogging, and dispensing issues[^8]. Relying on specifications alone is a huge gamble.
Mistake 3: Getting the Dip Tube Length Wrong
A dip tube that is too short leaves a lot of wasted product at the bottom, which makes customers angry. A dip tube that is too long will bend at the bottom, creating a seal that prevents the product from being pumped out. You must measure and specify the exact length needed for your bottle.
Mistake 4: Overlooking the Spring
As mentioned before, a standard metal spring can rust if your formula is not compatible. This can ruin your product and brand image. Always discuss your formula's ingredients with your pump supplier to ensure the right materials are used.
Mistake 5: Focusing Only on Unit Price
A pump that costs 5 cents seems cheaper than one that costs 8 cents. But if the 5-cent pump has a 10% failure rate, it will cost you far more in customer complaints, returns, and lost sales. The "right" pump is the one that works perfectly, not the one that is cheapest on paper.
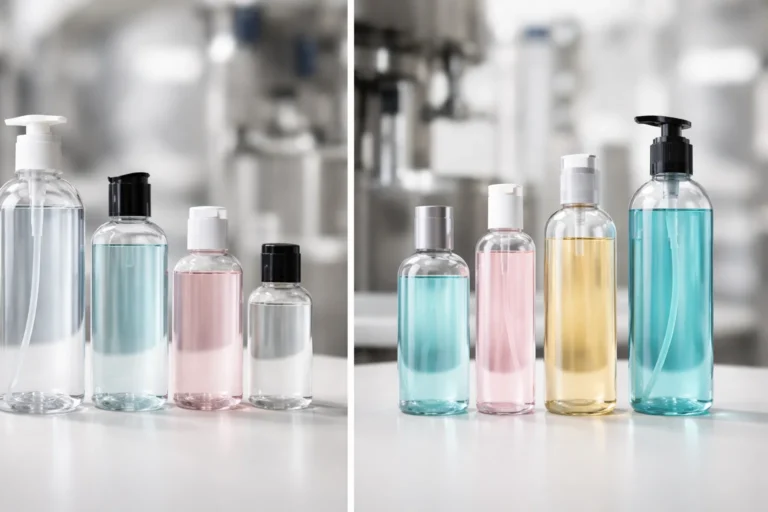
Lotion Pump vs Spray vs Airless Pump: Which One Should You Use?
There are many kinds of dispensers available. If you choose the wrong one, your product can become messy, difficult to use, or even spoil. You need to match the dispenser to the product.
Use a lotion pump[^1] for thicker products like lotions, soaps, and creams. Use a sprayer[^9] for watery liquids that need to be a fine mist. Use an airless pump[^10] for expensive or sensitive formulas to protect them and dispense every last drop.

The choice of dispenser is not about aesthetics; it is about function. The type of product you have dictates the type of dispenser you need. An airless pump[^10], for example, uses a piston at the bottom of the bottle to push the product up. This means no air ever touches the formula, making it ideal for organic products or those with active ingredients like retinol or Vitamin C that degrade with oxygen exposure. It also allows customers to use nearly 100% of the product, which they appreciate for high-value items. A fine mist sprayer[^9], on the other hand, atomizes a liquid into tiny droplets. This is perfect for face mists or body sprays, but it would be completely useless for a thick body butter. Using the wrong dispenser sends a message that you don't understand your own product.
| Dispenser Type | Best For | Pros | Cons |
|---|---|---|---|
| Lotion Pump | Viscous liquids (lotions, gels, soaps, creams) | Controlled dosage, easy to use, cost-effective | Can leave product at the bottom, exposes product to some air |
| Mist Sprayer | Water-thin liquids (toners, perfumes, face mists) | Creates a fine, even mist; covers a wide area | Does not work with thick products; can clog easily |
| Airless Pump | High-value, sensitive formulas (serums, foundations) | Protects from air contamination, dispenses nearly all product, works at any angle | More expensive, more complex mechanism |
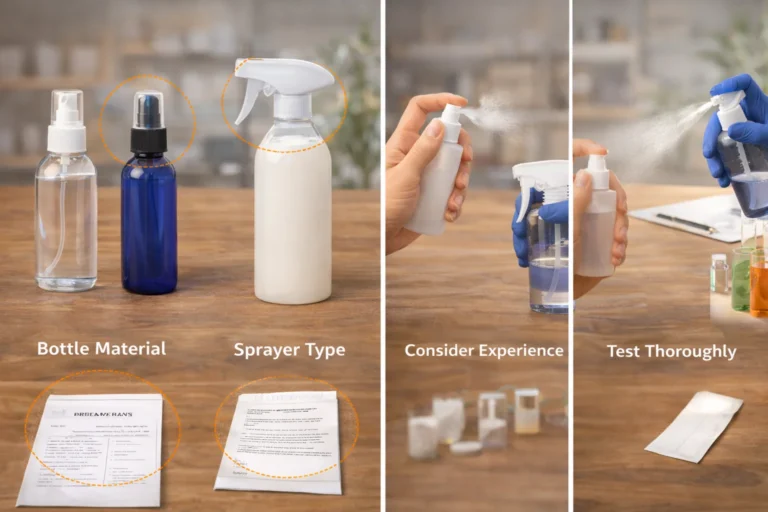
How to Choose the Right Lotion Pump for Your Product (Step-by-Step)?
You know the theory now. But how do you actually make a decision without feeling lost in all the details? Just follow this simple, step-by-step process to get it right.
First, analyze your product's viscosity[^2]. Next, decide on the dosage you need. Then, match the pump to your bottle's neck finish. Finally, and most importantly, get samples and test them thoroughly with your actual product before you buy in bulk.

I always tell my clients to treat this process like a science experiment. You have a hypothesis (this pump will work), and you need to test it to prove it. Don't skip any steps.
Step 1: Analyze Your Product Formula
Is your product thin like water or thick like paste? This is the most important question. The viscosity[^2] will determine the type of engine your pump needs. Also, list any potentially reactive ingredients (high alcohol, oils, high/low pH) to check for material compatibility.
Step 2: Determine Your Dosage (Output)
How much product should the customer get with one pump? Pump outputs are measured in cubic centimeters (cc) or milliliters (ml). Common outputs are 0.5cc, 1cc, and 2cc. A face serum might need a 0.5cc pump, while a body lotion would use a 2cc pump.
Step 3: Match the Bottle Neck Finish
The "neck finish" is the size of the bottle's opening and its threading. It's written as two numbers, like 24/410 or 28/410. The first number is the diameter of the opening in millimeters. The second number refers to the thread style. Your pump's closure must match your bottle's neck finish perfectly to create a seal.
Step 4: Specify the Dip Tube Length
Measure your bottle from the "land" (the flat surface where the pump gasket will sit) to the inside bottom. Provide this measurement to your supplier so they can cut the dip tube to the correct length. A good rule is to have it just touch the bottom or curve slightly.
Step 5: Test, Test, and Test Again
This is the most critical step. Order samples of the exact pump and bottle you plan to use. Fill them with your final product. Let them sit for weeks to check for leaks or reactions. Use them every day to check for clogs or failures. This is the only way to be 100% sure you've made the right choice.
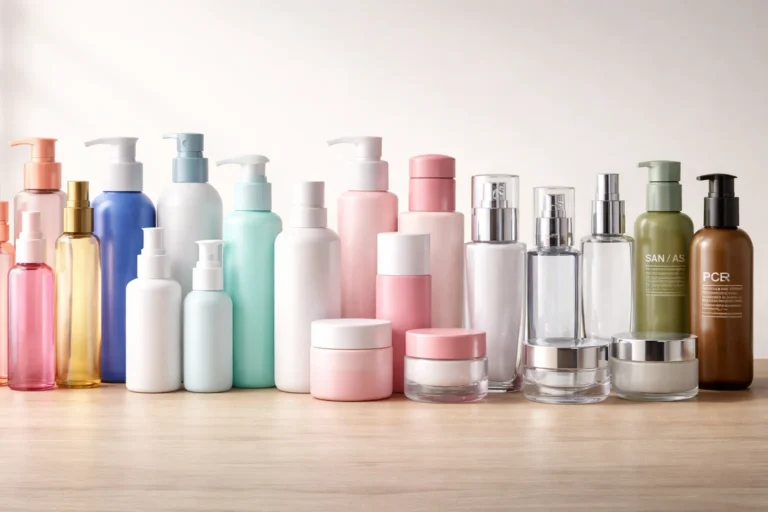
Where Are Lotion Pumps Commonly Used?
You see lotion pump[^1]s in your home every day. But you might be surprised by the wide range of industries and products that rely on this simple technology for dispensing.
Lotion pumps are most common in the personal care industry for products like hand soap, body lotion, shampoo, and conditioner. They are also widely used in cosmetics, household cleaning, and even the food industry for sauces and syrups.

The reason lotion pump[^1]s are so popular is their versatility. They can be designed to handle a wide range of viscosities, from thin serums to thick creams. This makes them a go-to solution for many different types of products. In the beauty world, you'll find them on everything from liquid foundation to hair styling gels. At home, they dispense dish soap and cleaning solutions. Even in a restaurant, the pump on the chocolate syrup bottle uses the same basic technology. This broad application shows just how reliable and effective the design is. By understanding where and how they are used, you can get ideas for your own products and see how other brands in your category are creating a great user experience for their customers.
| Industry | Example Products |
|---|---|
| Personal Care | Hand Soap, Body Lotion, Shower Gel, Shampoo, Conditioner, Hand Sanitizer |
| Cosmetics | Liquid Foundation, Primer, Skincare Serums, Makeup Remover |
| Household | Dish Soap, All-Purpose Cleaners, Laundry Stain Removers |
| Food & Beverage | Coffee Syrups, Condiments (Ketchup, Mustard), Sauces, Food Flavorings |
Can You Customize Lotion Pumps? (Colors, Output, Materials)?
You want your product to stand out on a crowded shelf. But a generic, off-the-shelf pump can make your premium brand look basic and cheap. Customization is the answer to creating a unique look.
Yes, you can customize almost every part of a lotion pump. You can choose custom colors, different finishes like matte or glossy, add metallic elements, change the output dosage, and select specific materials to match your brand and product needs.

Customization is how you elevate your packaging from functional to exceptional. It allows your brand's personality to shine through. From a manufacturing standpoint, this is where we can get really creative with a client.
Colors and Finishes
We can match the pump's color to any Pantone shade to align perfectly with your brand identity. You can choose between a standard glossy finish, a modern matte look, or even a soft-touch texture. For a more premium feel, we can add a metal over-shell to the actuator or closure, available in shiny or brushed aluminum, gold, or other metallic colors.
Output and Actuator Shape
As we discussed, the output dosage can be customized to suit your product. We can also create custom molds for the actuator, the part the user presses. This allows you to have a unique shape that is exclusive to your brand, which can significantly enhance the tactile experience and brand recognition.
Materials and Decoration
Beyond the standard plastic (Polypropylene or PP), we can explore other materials. You can also add branding directly to the pump itself. This can be done through hot-stamping a logo onto the top of the actuator or printing around the closure. These small details make a big difference in creating a cohesive and high-end product presentation.
Conclusion
Choosing the right lotion pump is a vital decision. It requires testing and attention to detail. Getting it right ensures a great user experience and helps you avoid very costly mistakes.
[^1]: Understanding the mechanics of a lotion pump is crucial for ensuring product quality and customer satisfaction.
[^2]: Viscosity plays a key role in pump performance; learn how to choose the right pump for your product's thickness.
[^3]: Knowing the right output dosage ensures customers receive the correct amount of product with each use.
[^4]: The right dip tube length prevents product waste and ensures effective dispensing.
[^5]: Understanding the components helps in selecting a reliable pump for your product.
[^6]: Learning from others' mistakes can save you time and money in the long run.
[^7]: Choosing the right spring material prevents rust and ensures longevity of the pump.
[^8]: Identifying potential dispensing issues can help you choose a more reliable pump.
[^9]: Understanding the differences helps in selecting the right dispenser for your product.
[^10]: Airless pumps protect sensitive formulas; discover when to choose this option.