Making your own jar labels can be a fun and rewarding process, but the challenge lies in choosing the right materials and tools for the job. Whether you’re creating labels for homemade jams, candles, or beauty products, getting it right can elevate your brand and presentation.
You can make your own jar labels using a variety of materials like adhesive vinyl1, fabric, or even waterproof vinyl. The process involves selecting the right software or templates, printing the labels, and applying them to your jars.
Creating your own labels gives you full control over your design and presentation. But what exactly do you need to make your labels stand out? Let’s explore the different materials and tools to get started.
What can I use to make my own labels?
To make your own jar labels, you’ll need to choose the right materials that fit your purpose.
Materials for creating jar labels include adhesive paper, kraft paper, and waterproof vinyl 2, depending on your needs. Tools like printers, Cricut3, or laser cutting machines can help achieve the best results.
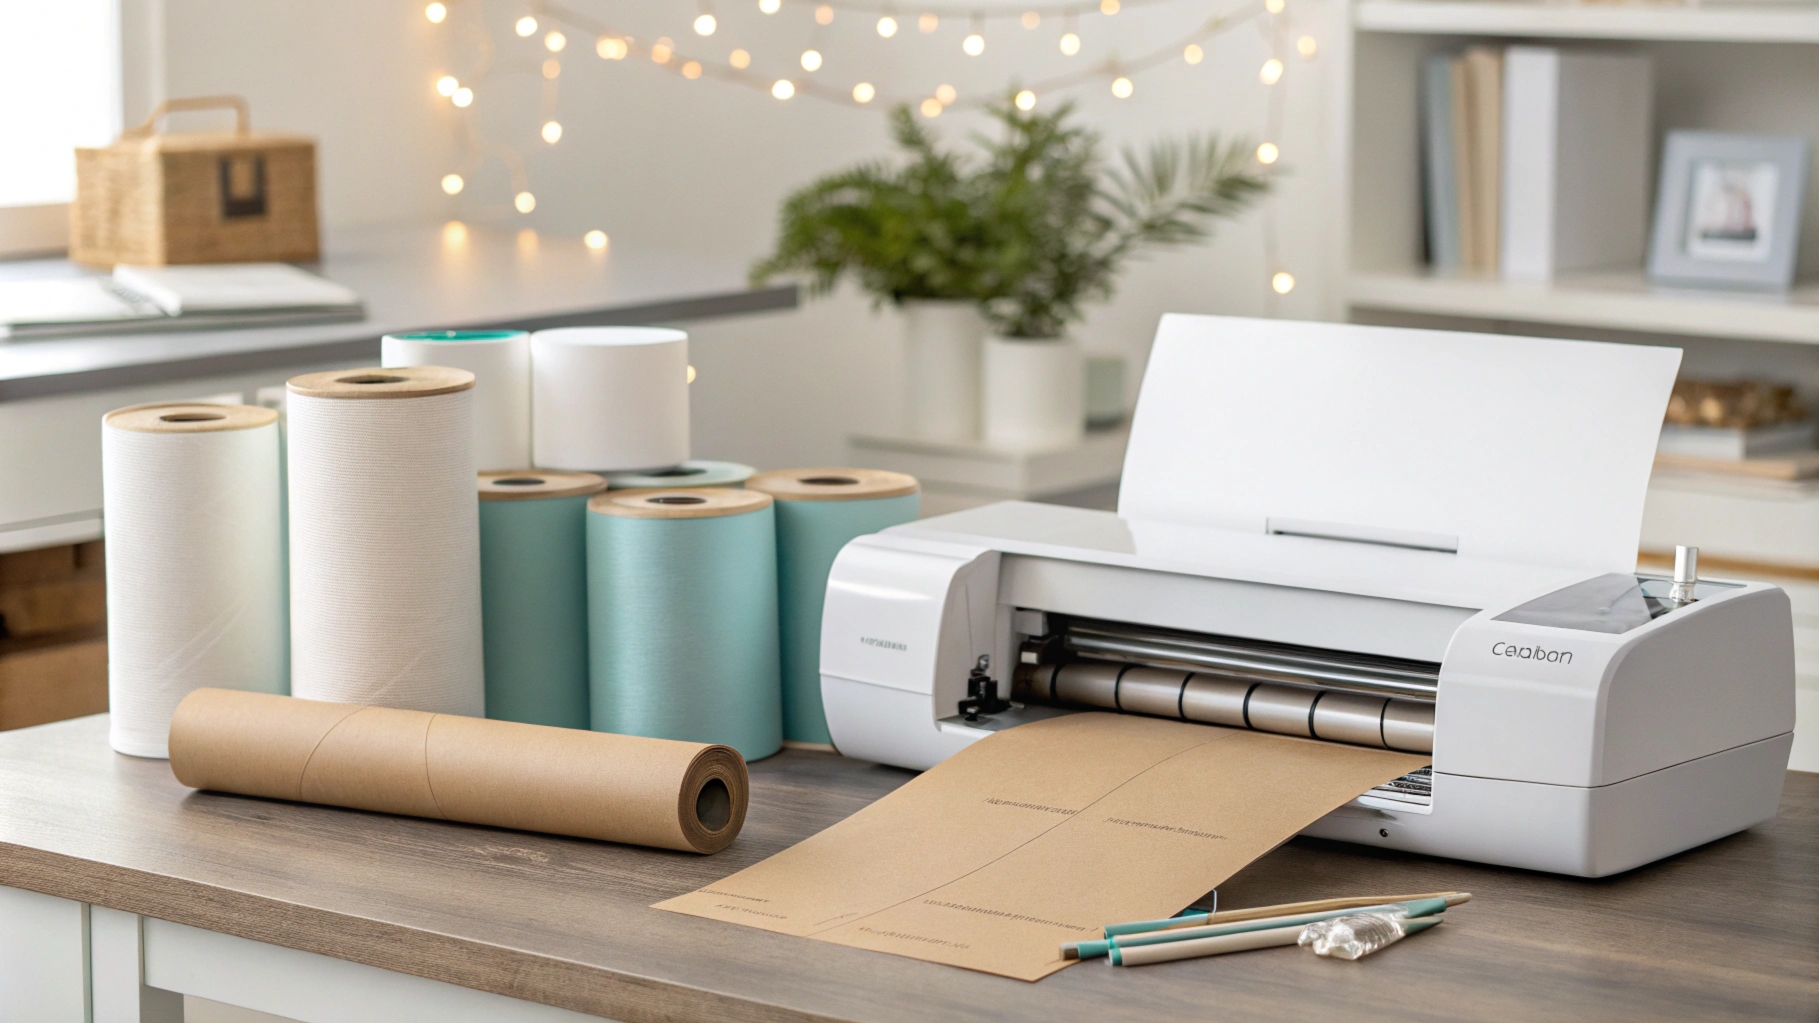
The materials and tools that will work best for your jar labels. Each option has its pros and cons, and understanding them will help you decide what’s best for your project.
Types of Label Materials
| Material Type | Best Use Case | Pros | Cons |
|---|---|---|---|
| Adhesive Paper | General use, easy print | Easy to apply, affordable | Can tear easily |
| Waterproof Vinyl | Outdoor or water-sensitive products | Durable, weatherproof | More expensive |
| Kraft Paper | Rustic, handmade look | Eco-friendly, aesthetic | Not very durable |
Tools for Labeling
- Printers: Inkjet or laser printers are commonly used for high-quality printing at home.
- Cricut: A cutting machine that’s perfect for creating custom, intricate label designs.
How do you make waterproof jar labels?
If you want your jar labels to withstand moisture or rough handling, waterproof labels are the way to go.
Waterproof labels can be made using [vinyl]4 or special waterproof adhesive paper that is resistant to water and smudging. Ensure you use a good quality printer and lamination for best results.
Waterproof labels are perfect for jars that will be in humid environments like kitchens, bathrooms, or even outdoor use. Let’s break down the steps to ensure you get the best waterproof result.
Materials for Waterproof Labels
| Material Type | Water Resistance Level | Durability | Cost |
|---|---|---|---|
| Waterproof Vinyl | High | Extremely durable | Higher |
| Laminated Paper | Moderate | Medium durability | Lower |
Steps to Create Waterproof Labels
- Print your design on waterproof paper or vinyl.
- Laminate your labels to add an extra layer of protection.
- Trim the labels to fit your jars.
How to label glass jars permanently?
Permanent labels need to be both durable and adhesive enough to stick to glass surfaces.
Permanent labels for glass jars can be created using strong adhesive vinyl or laser printing5 methods. These materials bond well with glass and last long.
Permanent labeling ensures that your design stays intact even when exposed to water, heat, or scratches. Let’s look into the best practices for permanent labeling.
Best Materials for Permanent Labels
| Material Type | Adhesion Strength | Durability | Cost |
|---|---|---|---|
| Adhesive Vinyl | Strong | Very durable | Moderate |
| Laser Printing | Extremely strong | Long-lasting | Higher |
Steps for Creating Permanent Labels
- Choose a strong adhesive material like vinyl.
- Print or cut your labels using your preferred method.
- Apply to a clean glass surface, ensuring no air bubbles are trapped.
Can you make jar labels with Cricut?
Cricut machines offer a versatile tool for creating custom labels with intricate designs and different materials.
Yes, Cricut can be used to make jar labels. Its cutting precision and ability to work with a variety of materials like vinyl and cardstock make it a great choice for creating professional-looking labels.
If you’re looking to add a personal touch to your labels, Cricut offers a variety of options that can cut, write, and even score materials for complex designs. Let’s take a closer look at how to use Cricut for jar labeling.
How Cricut Works for Jar Labels
| Feature | Benefit | Best Use Case |
|---|---|---|
| Cutting Precision | High | Intricate designs |
| Materials | Vinyl, Paper, Fabric | Variety of options |
Cricut Labeling Tips
- Choose the right material for your design (vinyl is most common).
- Use Cricut Design Space6 to create your custom designs.
- Ensure the cutting mat is aligned before starting the machine.
Conclusion
Creating your own jar labels allows you to add a personal touch to your products. Whether you choose adhesive paper, vinyl, or use a Cricut machine, the process is simple with the right materials and tools.
-
Adhesive vinyl is a versatile material often used for creating durable, long-lasting labels. It bonds well to different surfaces, making it ideal for permanent labeling. ↩
-
Waterproof vinyl offers excellent durability for jars exposed to water or humidity. It’s often used for outdoor products or anything subject to frequent handling. ↩
-
Cricut is a cutting machine that offers precision in crafting, including custom label creation. It’s ideal for detailed designs on various materials. ↩
-
Vinyl is highly recommended for waterproof labels. It is resistant to water and smudging, making it an excellent option for items that are often handled or exposed to moisture. ↩
-
Laser printing provides high-quality, precise prints, making it perfect for creating long-lasting permanent labels, especially for glass jars. ↩
-
Cricut Design Space is the software used with Cricut machines. It allows you to design and customize projects, including jar labels, with ease and precision. ↩
