Your product is great, but it’s getting lost on the shelf. Competitors are grabbing all the attention. Custom packaging can make your brand unforgettable and tell its unique story.
Custom cosmetic packaging1 is creating unique containers and boxes2 specifically for your brand. It involves choosing materials, shapes, colors, and finishes. This helps your product stand out, protect it, and connect with customers by reflecting your brand’s identity and values.

It all sounds great, but where do you even start? I’ve seen brands get this wrong so many times by focusing only on looks. Let’s break down what really matters, starting with the basics, so you can create packaging that is both beautiful and practical for manufacturing.
What Exactly Is Custom Cosmetic Packaging?
You hear "custom packaging" everywhere. It sounds expensive and complicated. I’ll show you it’s a practical tool that defines your brand’s presence on the shelf and protects your product.
Custom cosmetic packaging1 means creating packaging from scratch for your product. It’s not just a logo on a stock box. It covers the container, box, labels, and inserts. This ensures everything perfectly fits your product and brand, creating a unique customer experience3.

When I talk to clients, I break it down into three distinct layers. Thinking about it this way makes the whole process much clearer. It’s not just one box; it’s a system designed to protect, present, and persuade. From my manufacturing experience, getting all three layers to work together seamlessly is the real goal. A beautiful bottle is useless if the box doesn’t protect it during shipping.
The Three Layers of Packaging
| Packaging Layer | Description | Common Examples |
|---|---|---|
| Primary Packaging | The container that directly holds the cosmetic product. It’s what the customer uses every day. | Lipstick tube, serum bottle, cream jar, mascara wand. |
| Secondary Packaging | The outer box or wrapping that contains the primary packaging4. This is your main marketing space. | The paperboard box a serum bottle comes in. |
| Tertiary Packaging | The packaging used for shipping and bulk handling. It protects products on their way to a warehouse or store. | Corrugated shipping boxes, packing materials. |
Why Does Custom Packaging Matter So Much for Cosmetic Brands?
Your product is fantastic, but does the packaging say that? Plain packaging can make even the best formula seem cheap. Custom designs build trust and perceived value instantly.
It’s your first impression. Custom packaging protects the product, communicates your brand’s story, and attracts your ideal customer. In a crowded market, it’s a key differentiator that can justify a premium price and build lasting brand loyalty. It’s not just a box; it’s a sales tool.

I remember working with a small skincare brand. Their serum was amazing, but it came in a plain stock bottle with a simple label. Sales were flat. They felt their quality wasn’t being recognized. We worked together on a new custom package: a weighted glass bottle and a soft-touch box with a foil-stamped logo. It wasn’t overly complex, but it felt premium. Within three months of the relaunch, their sales tripled. The formula didn’t change, but the customer’s perception of its value did. That’s the power of getting this right. It’s a silent salesperson for your brand. It’s not just about looking good; it’s about creating a tangible feeling of quality and trust before the customer even tries the product.
Which Parts of Cosmetic Packaging Can You Actually Customize?
You want to customize, but you’re not sure where to start. It feels overwhelming. I’ll show you the specific elements you can change to make a big impact without overcomplicating things.
You can customize almost everything. This includes the primary container’s shape, material, and color. It also includes the secondary box’s structure, printing, and finishes. Even smaller details like inserts, labels, and applicators can be fully customized to match your brand’s unique style.

The key is to focus on customizations that are practical from a manufacturing standpoint. A wild, unique shape sounds great, but it might require a very expensive new mold. Sometimes, a standard-shaped bottle with a custom color and a beautifully finished box is more effective and sustainable for a growing brand. I always advise my clients to start with a solid foundation. Master the basics of material, color, and finish before trying to reinvent the wheel on structure.
Key Customization Areas
| Component | Customizable Elements |
|---|---|
| Primary Container | Material (glass, plastic, aluminum), Shape, Size, Color, Dispenser (pump, dropper, spray). |
| Secondary Box | Structure (folding carton, rigid box), Material (paperboard type), Printing (offset, digital), Finishes (matte, gloss, foil). |
| Labels & Printing | Information, Typography, Graphics, Printing Method, Material (paper, vinyl). |
| Inserts & Fillers | Custom-fit inserts to hold the product securely, printed materials, tissue paper. |
Which Customization Options Actually Matter for Sales?
So many options, so little budget. You’re scared of wasting money on customizations that don’t work. Let’s focus on the choices that truly drive customer appeal and are smart investments.
Focus on what enhances the user experience and communicates value. Things like unique structural design, high-quality materials5, and tactile finishes6 like soft-touch or embossing matter most. These elements make the product feel premium and memorable, encouraging repeat purchases.
I’ve seen brands spend a fortune on complicated, multi-color printing that just looked busy. Meanwhile, a competitor used a simple, one-color design on a thick, textured paper box, and it felt ten times more luxurious. The feel of the package in a customer’s hand is incredibly important. It communicates weight, quality, and care. From a manufacturing perspective, focusing on a better material or a single, well-executed finish is often more cost-effective and impactful than adding more colors or complex graphics. It’s about strategic choices, not just adding more for the sake of it. The best designs are often the ones that show restraint and focus on quality over quantity.
Smart vs. Risky Customizations
| Smart Investments | Potentially Risky Choices |
|---|---|
| High-Quality Materials: They communicate value instantly. | Overly Complex Structures: Can be costly, hard to assemble, and prone to damage. |
| Tactile Finishes: Soft-touch, embossing, or debossing create a memorable feel. | Too Many Colors/Fonts: Can look cheap and unprofessional if not done well. |
| Structural Uniqueness: A clever opening or unique box shape can delight customers. | Ignoring Functionality: A beautiful box that’s hard to open will frustrate users. |
How Do You Choose the Right Materials for Custom Cosmetic Packaging?
Picking a material feels like a huge decision. Will it protect the formula? Is it sustainable? I’ll guide you through the most common choices and their benefits from a practical standpoint.
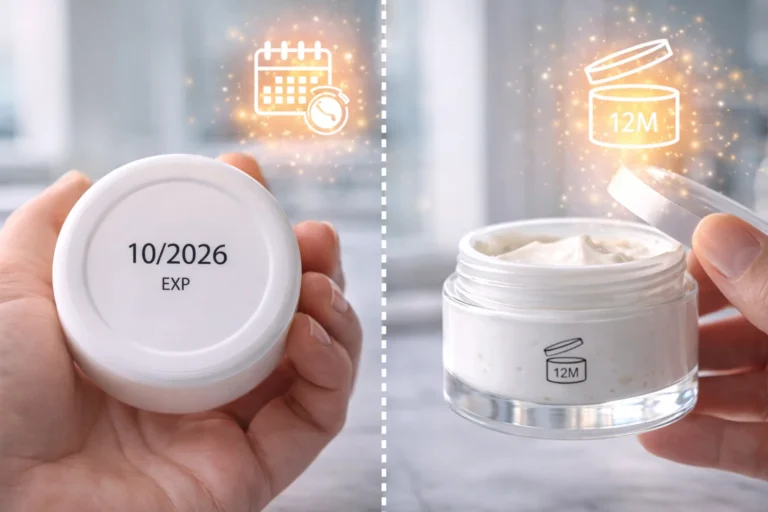
Consider three things: product compatibility7, brand identity, and budget. Glass feels premium and is inert. Plastic is versatile and lightweight. Paper is great for outer boxes. Sustainable options like PCR plastic or FSC-certified paper are increasingly important for connecting with conscious consumers.

The single most important step is compatibility testing. I can’t stress this enough. I once saw a brand choose a beautiful plastic bottle for their new Vitamin C serum. They skipped testing to save time. Within weeks, the serum turned brown because the plastic wasn’t UV-protective and reacted with the formula. It was a disaster that cost them their entire first production run. Your supplier should guide you, but you must insist on testing your specific formula in the chosen container for several weeks. It protects your product, your reputation, and your investment.
Common Material Comparison
| Material | Pros | Cons | Best For |
|---|---|---|---|
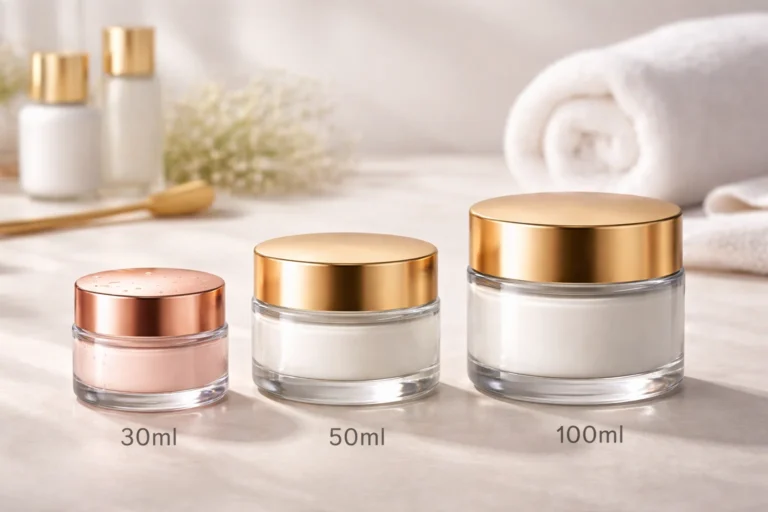
| Glass | Feels premium, excellent protection, recyclable. | Heavy, fragile, more expensive. | Serums, foundations, luxury creams. |
| PET/PP Plastic | Lightweight, durable, versatile shapes, affordable. | Can feel less premium, potential compatibility issues. | Cleansers, lotions, toners. |
| Paperboard | Highly customizable, great for printing, eco-friendly options. | Not for direct contact with liquids. | Secondary packaging (boxes). |
| Aluminum | Lightweight, blocks 100% of light, recyclable. | Dents easily, can be costly. | Squeezable tubes, water-free formulas. |
How Should Your Packaging Change Based on the Product Type?
A cream needs a different home than a powder. Using the wrong packaging can ruin your product and frustrate your customer. Let’s match the right container to the right cosmetic formula.
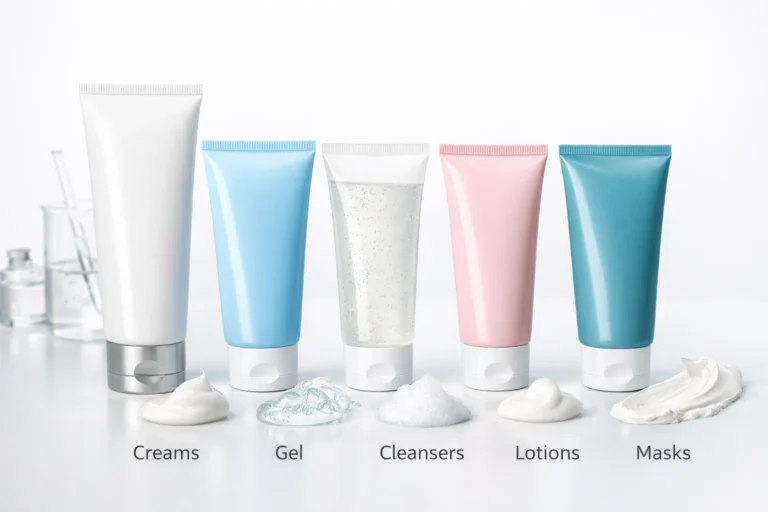
The product dictates the packaging. Liquids need pumps or droppers in leak-proof bottles. Creams require jars or airless pumps to prevent contamination. Powders need sifters in compacts or jars. The packaging must preserve the formula’s integrity and make it easy to use.

Functionality is everything here. A customer who has to fight to get product out of a container will not buy it again. I always push my clients to think about the daily use case. For example, an airless pump is more expensive than a simple jar, but for an advanced anti-aging cream with sensitive ingredients, it’s a worthwhile investment. It prevents air and fingers from contaminating the product, preserving its effectiveness. This functional benefit becomes a key selling point. The packaging isn’t just a container; it’s part of the product’s performance. Choosing the right delivery system shows you understand your customer’s needs.
For Liquids (Serums, Foundations)
These need controlled dispensing and protection from light and air. Glass bottles with droppers are classic for serums. For foundations, a bottle with a pump dispenser provides a clean, measured application every time.
For Creams (Moisturizers, Eye Creams)
Wide-mouth jars are common, but they expose the product to air and bacteria. For high-value creams with active ingredients, I strongly recommend airless pump jars. They use a vacuum system to dispense the product, keeping the contents pure.
For Powders (Setting Powder, Eyeshadow)
Loose powders need jars with a sifter to control the mess. Pressed powders, like eyeshadows and blushes, require metal pans pressed into a compact. The closure mechanism of the compact is critical; it must be secure to prevent breakage during travel.
What Is the Real Process from Design to Production?
You have a great design idea. But how do you turn it into a real product? The manufacturing process can seem like a black box. I’ll walk you through the essential steps.
It’s a clear, multi-step process. Start with a design brief, then move to structural design and artwork. Next comes prototyping and testing. Once approved, you move to tooling, mass production, quality control, and finally, shipping. Each step requires clear communication.
The most critical stage where things go wrong is the handoff between design and production. A designer might create something beautiful on screen that’s impossible or extremely expensive to actually make. That’s why I always insist on getting a manufacturer involved early. We can look at a design and say, "Okay, this is great, but if we adjust this curve by 2 millimeters, we can use an existing tool and save you $10,000." This collaborative approach saves so much time, money, and frustration. Always get a physical prototype in your hands before you approve mass production. It might look perfect on a 3D render, but you need to feel it.
The 8-Step Production Path
- Concept & Brief: Clearly define your goals, budget, and brand identity.
- Structural Design: Create the dieline or 3D model of the box and container.
- Artwork: Apply your graphic design to the structural templates.
- Prototyping: Create physical samples for approval. This is a non-negotiable step.
- Testing: Test the prototype with your actual product for compatibility and shipping durability.
- Tooling: Create any custom molds or cutting dies required for production.
- Mass Production: The full run of your packaging is manufactured.
- Quality Control & Shipping: Your products are inspected and shipped to you.
What Are the Most Common Mistakes to Avoid in Custom Packaging?
You want perfect packaging, but costly errors are common. You’re worried about making a rookie mistake. I’ll share the biggest pitfalls I’ve seen brands fall into over the years.
The biggest mistakes are ignoring production limitations, skipping compatibility testing, and underestimating timelines. Overly complex designs that are hard to assemble or ship are also a huge problem. Always prioritize function and manufacturability over purely aesthetic ideas that aren’t practical.

One of the most frequent mistakes I see is forgetting about the final assembly. A brand designed this incredibly intricate folding box. It looked stunning when flat, but it took their fulfillment team almost two minutes to assemble each one. When you’re shipping hundreds of orders a day, that time adds up to a massive labor cost. We ended up redesigning it as a rigid box that came pre-assembled. It cost slightly more per unit, but it saved them thousands in labor costs. You have to think about the entire lifecycle of the packaging, not just how it looks on a shelf.
Mistake 1: Designing in a Vacuum
Don’t finalize your design without talking to your manufacturer. They can provide feedback on what’s feasible, cost-effective, and durable.
Mistake 2: Skipping the Sampling Stage
Never, ever approve a full production run based on a digital proof alone. You must hold a physical sample in your hands to check colors, materials, and construction.
Mistake 3: Forgetting About Shipping
Your packaging must be durable enough to survive transit. A beautiful, delicate box that arrives crushed is a waste of money and leads to a terrible customer experience.
How Do You Choose the Right Custom Packaging Supplier?
The right partner is everything. A bad supplier can ruin your launch with delays, defects, or poor communication. You need to know what to look for. Let me give you my personal checklist.
Look for a supplier with direct experience in cosmetics. Check their portfolio, ask about their quality control process, and verify their certifications. Communication is key, so ensure they are responsive and understand your vision. Don’t just choose based on the lowest price.

Price is what you pay, but value is what you get. I’ve seen brands choose the cheapest quote only to receive a shipment where 20% of the boxes were unusable due to poor printing or gluing. A good supplier is a partner, not just a vendor. They should offer advice, point out potential problems in your design, and be transparent about their process. I always tell my clients to ask a potential supplier, "What problems do you foresee with my design?" A good partner will give you an honest, thoughtful answer. A bad one will just say "no problem" to get the sale. The answer to that one question tells you everything you need to know.
Supplier Vetting Checklist
- Check Their Industry Experience: Have they worked with cosmetic brands before? Ask to see examples.
- Ask About MOQs: Understand their Minimum Order Quantities to ensure they fit your business size.
- Review Their Quality Control Process: How do they ensure consistency and quality across a large run?
- Evaluate Their Communication: Are they responsive, clear, and helpful? Do they have a dedicated contact person for you?
- Request Samples: Get samples of their previous work to evaluate their quality firsthand.
What Are the Most Frequently Asked Questions About Custom Cosmetic Packaging?
You still have questions. Everyone does. It’s a complex topic. I’ve gathered the most common questions I get from brands and will answer them right here, straight and to the point.
Common questions cover cost, timelines, and MOQs. Brands often ask about sustainable options and the difference between printing methods. Understanding these basics is crucial before you start your project, as it helps you set a realistic budget and timeline from the very beginning.

These are the practical questions that every brand founder asks. There are no perfect, one-size-fits-all answers, because every project is different. However, having a general understanding of these factors will make your conversations with suppliers much more productive. My best advice is to be upfront about your budget and timeline from the very first conversation. A good supplier will work with you to find a solution that meets your needs. Transparency is the key to a successful partnership and a smooth manufacturing process.
What is a realistic budget for custom packaging?
This varies wildly. For a simple custom mailer box, you might start at $1-$2 per unit. For a multi-part rigid box with custom inserts and finishes, it could be $5-$10 or more. The cost depends on quantity, materials, complexity, and printing.
How long does the process take from start to finish?
Plan for at least 8-12 weeks from design finalization to delivery. This includes time for prototyping (2-3 weeks), mass production (4-6 weeks), and shipping (2-4 weeks). Rushing the process is the fastest way to make expensive mistakes.
What does MOQ mean and why is it important?
MOQ stands for Minimum Order Quantity. It’s the smallest number of units a manufacturer will produce in a single run. For custom packaging, this is often between 500 and 1,000 units. It’s important because your per-unit cost drops significantly as your quantity increases.
Conclusion
Custom packaging is about balance. Start with a solid, practical design that protects your product and tells your story. Get that right, and you’ll build a truly memorable brand.
-
Explore how custom packaging can enhance your brand’s identity and attract customers. ↩ ↩
-
Learn about the importance of unique packaging in standing out on the shelf. ↩
-
Discover the impact of packaging on customer satisfaction and repeat purchases. ↩
-
Understand the role of primary packaging in protecting and presenting your product. ↩
-
Understand how quality materials can elevate your brand’s perception. ↩
-
Explore how tactile elements can create a memorable unboxing experience. ↩
-
Learn the importance of testing materials for compatibility with your product. ↩